1 Spring Boot 2.x 入门
使用Spring Boot可以简化操作,通过很少的配置就可以快速搭建一套Web项目或者构建一个微服务。
1.1 IDEA构建Spring Boot项目
(1)File,New Project
(2)选择Spring Initializr,并填写相关数据
(3)选择依赖,完成
注意:因为这样创建完的项目没有任何数据访问和Web模块,所以程序加载完Spring后就会结束运行。
Spring Boot建议的目录结构
root package结构:com.example.myproject
1 | com |
自动创建的结构如下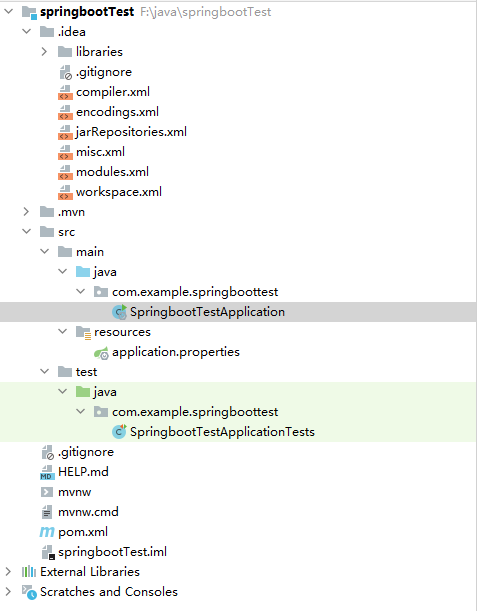
(1)Application.java 建议放到根目录下面,主要用于做一些框架配置
(2)model 目录主要用于实体与数据访问层(Repository)
(3)service 层主要是业务类代码
(4)controller 负责页面访问控制
1.2 引入Web模块
一、在pom.xml中添加支持Web的模块
1 | <dependency> |
pom.xml中两个默认模块的说明
(1)spring-boot-starter:核心模块,包括自动配置支持、日志和YAML,如果引入了 spring-boot-starter-web,web模块可以去掉此配置,因为 spring-boot-starter-web自动依赖了 spring-boot-starter
(2)spring-boot-starter-test:测试模块,包括 JUnit、Hamcrest、Mockito
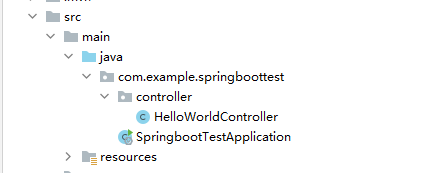
二、编写Controller
按照建议的目录结构创建directory并新建类文件
1 |
|
说明:@RestController意思就是Controller 里面的方法都以 json 格式输出,不用再写什么 jackjson 配置的了
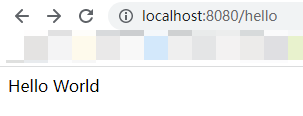
三、访问http://localhost:8080/hello
1.3 如何做单元测试
修改src/test/下测试入口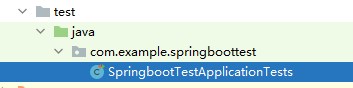
编写简单的HTTP请求来测试
1 | package com.example.springboottest; |
在实验时,报错有org.junit.runners.model.InvalidTestClassError: Invalid test class 'com.example.springboottest.SpringbootTestApplicationTests':如图
最后发现import org.junit.jupiter.api.Test;应该换成import org.junit.Test;
2 配置文件
src/main/resources/application.properties是默认配置文件。这里可以定义容器端口名、数据库链接信息、日志级别等各种配置信息。
3 Web综合开发
3.1 Web开发
Spring Boot做json接口配置
类添加@RestController即可,类中的方法都会以json格式返回
如果需要使用页面开发只要使用@Controller注解即可
自定义Filter
filter可以用于录调用日志、排除有 XSS 威胁的字符、执行权限验证等等
定义步骤如下:
(1)实现Filter接口,实现Filter方法
(2)添加Configuration注释,将自定义Filter加入过滤链
自定义Property
(1)在src/main/resources/application.properties中添加配置
(2)自定义配置类(通过@Component注解使用)
3.2 Thymeleaf模板
Thymeleaf是一款用于渲染XML/XHTML/HTML5内容的模板引擎。
优点
(1)Thymeleaf能直接在浏览器中打开并正确显示模板页面,而不需要启动整个 Web 应用
(2)Thymeleaf的模板语法并不会破坏文档的结构,模板依旧是有效的XML文档
(3)模板还可以用作工作原型,Thymeleaf会在运行期替换掉静态值
缺点
Thymeleaf使用了XML DOM解析器,因此它不适合处理大规模XML文件。
3.3 Gradle构建工具
Spring项目建议使用Maven/Gradle进行构建项目
特点
(1)Gradle更简洁
(2)Gradle更适合大型复杂项目的构建
Gradle吸收了Maven和Ant的特点,不过Maven仍是主流。
3.4 WebJars
可以通过jar包的方式使用使用前端的(JavaScript,Css)各种框架、组件。
4 使用Thymeleaf开发Web页面
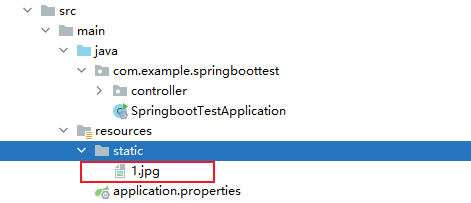
4.1 静态资源访问示例
在src/main/resources/目录下新建static目录,放入图片,启动程序后,访问http://localhost:8080/1.jpg即可
4.2 thymeleaf实践
(1)在pom.xml中添加依赖
1 | <dependency> |
但是报红,提示找不到依赖,加上版本号即可,例如
1 | <dependency> |
如果加上版本号还是不行,可能是没换源,这个参考Maven换源然后重试以下即可
(2)新建传统Controller用于处理根路径请求,将解决渲染到index页面上
1 |
|
(3)去模板路径src/main/resources/templates下新建模板文件index.html
1 |
|
结果如下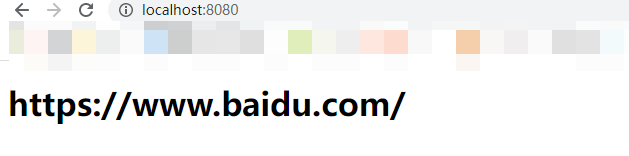
4.3 参数配置模板
参考https://blog.didispace.com/spring-boot-learning-21-4-1/
1 | # Enable template caching. 如果不想每次修改页面都重启,则设为false |
5 ECharts绘制图表
ECharts是百度开源的一个使用 JavaScript 实现的开源可视化库。
(1)首先要有一个Spring Boot项目
(2)在pom.xml中引入Web模块和thymeleaf模块
(3)编写Controller,将/路径的请求映射到index.html页面
1 |
|
(4)在resources/templates下创建index.html页面
1 |
|
(5)启动应用,即可访问
6 MyBatis-Plus
MyBatis的增强工具。官方站点
首先要准备数据(对应的数据库文件)
(1)添加依赖
(2)在配置文件application中添加H2数据库相关配置
(3)在Spring Boot启动类中添加@MapperScan注解,扫描Mapper文件夹
(4)编写实体类User.java和Mapper类UserMapper.java
(5)开始使用
7 Spring Security
提供身份验证和访问控制,示例如下
7.1 创建Web应用
(1)创建Spring Boot项目并添加Web和Thymeleaf依赖
(2)在src/main/resources/templates下创建home.html
1 |
|
(3)同理创建hello.html
1 |
|
(4)在主类同目录创建MvcConfig.java用于设置视图
7.2 设置Spring Security
参考
Spring Security会自动使用基本身份验证保护所有HTTP端点
(1)使用Maven的话,需要在pom.xml中添加Spring Security依赖
1 | <dependency> |
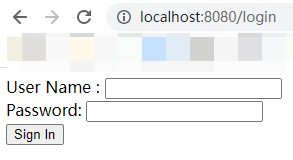
(2)在主类同目录创建安全配置类WebSecurityConfig.java
@EnableWebSecurity注解为启用 Spring Security 的 Web 安全支持并提供 Spring MVC 集成。
这里的配置configure方法定义了哪些路径需要被保护,比如这里根路径和home路径不需要身份验证,其他都需要。
1 | package com.example.springboottest; |
(3)创建login.html视图
1 |
|
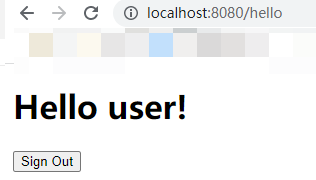
(4)为访问者提供显示当前用户名和注销的方式,需要更新hello.html以向当前用户问好并包含一个登出表单
1 |
|
(5)运行
效果如下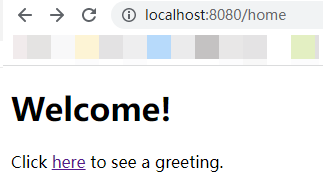
8 Spring Session
https://docs.spring.io/spring-session/reference/guides/boot-redis.html
http://www.bjpowernode.com/tutorial_spring_session/
用于管理用户的Session信息。
9 Sigar
参考https://www.cnblogs.com/shoose/p/10443546.html
10 oshi
https://www.cnblogs.com/gaomanito/p/13386591.html
https://blogs.qianlongyun.cn/archives/1300.html/